Yesterday I showed you how awesome the snowman body turned out and today I am going to show you how I did the hat and how it all came together. The hat was made out of purple heart. Over time the wood will darken to be very beautiful purple.
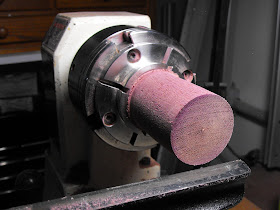
This is what I started with. I cut off a section of this block of purple heart and mounted it on the lathe and rounded it out.
The next step is one that neither my husband or I had tried. We needed to mount a chuck that would hold a drill bit on it so we could drill out the center of the purple heart. This needed to be done, because that is where the hat will sit on top of the snowman's head.
My husband was even nice enough to snap a picture of me doing this. He was out there to check out the action while I was doing the drilling.
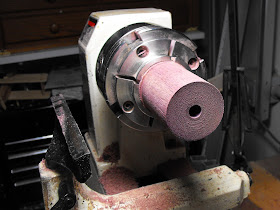
This is what it looks like after the drilling was complete. Now, a trick that my hubby taught me, to accurately gauge how deep the drill bit was going, he told me to put some masking tape on the drill bit so I knew exactly when to stop.
I then turned the shape of the hat and sanded it down and finished the bottom section of the hat. After that, I parted the hat off the lathe.
After I parted off the hat, I had to create a tenon in the leftover wood on the chuck, then I fitted the hat on the tenon so I could sand and finish the top of the hat.
The finished purple heart hat for my snowman.
I glued the hat onto the tenon on the snowman, even though it was a perfect fit, just to make sure that it wouldn't come back off. Now, the finished snowman!
And me with my snowman, to give everyone a good idea of the size. Don't I just look lovely after working in the garage? I am sporting my best Vanna pose too!
Now, the debate begins with, do I paint on eyes, nose, mouth and buttons? I don't think the snowman needs it, but my hubby thinks it does. I will have to make that call tomorrow.


No comments:
Post a Comment